Lovable Supabase Integration (2026): Connect Your Own Backend, Step by Step
TL;DR
- Two backend paths: Lovable Cloud (built in, billed from your credit balance) or your own Supabase project connected via the official integration.
- Own Supabase wins when you want the data outside Lovable, direct SQL access, an exit path, or a backend that other apps share.
- The flow: create the Supabase project first, connect it in Lovable's integration settings, then prompt schema and auth into existence.
- Security is on you: ask for RLS on every table and run a review before inviting real users.
- Cost: Cloud spends Lovable credits; own Supabase moves backend load to Supabase's free or paid tiers.
The single most consequential decision in a Lovable project is not the design or the prompts; it is where the backend lives. Lovable gives you two answers: its built-in Cloud, billed from the same credit balance as everything else, or your own Supabase project wired in through the official integration. The second path is below: when it is worth the setup, and the exact order that avoids the common messes.
Cloud or your own Supabase?
| You | Use |
|---|---|
| Prototype this weekend, throw it away maybe | Lovable Cloud, zero setup |
| Real users, real data, you want to own it | Own Supabase |
| Need SQL access, backups you control, the Supabase dashboard | Own Supabase |
| Backend shared with another app or a future mobile client | Own Supabase |
| Never touched a database and don't want to | Cloud, until the app proves itself |
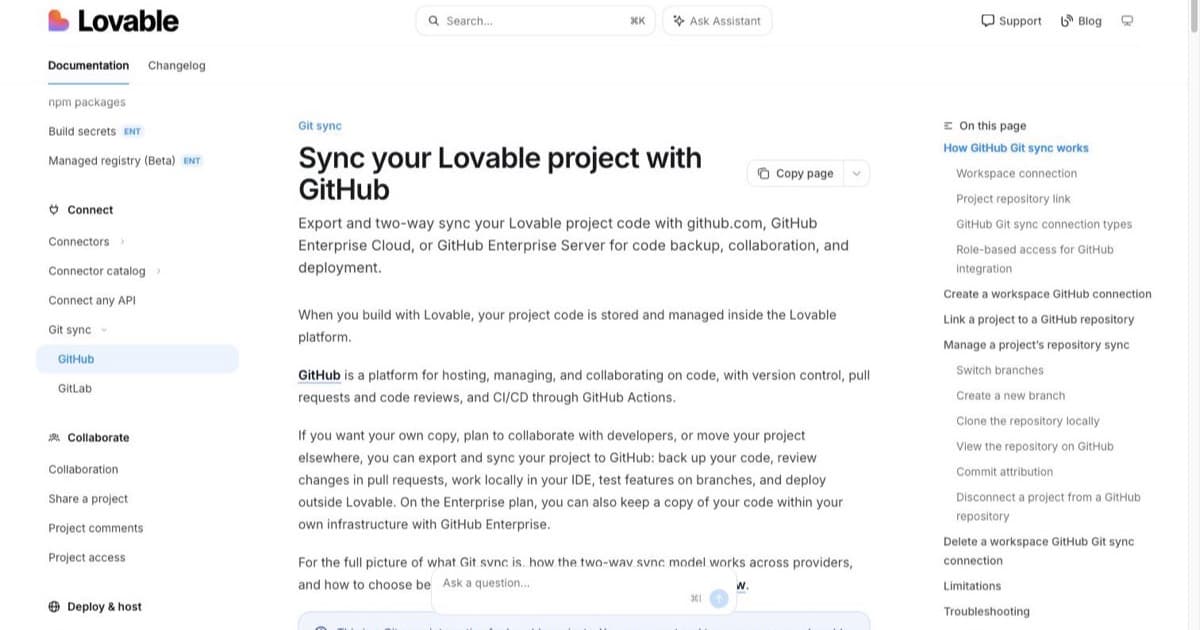
The honest framing: Cloud is faster today, own-Supabase is cheaper to leave. Every table Cloud creates lives inside Lovable's world; every table in your Supabase project is yours whatever happens to your Lovable subscription, and the frontend can follow via GitHub export.
Step 1: create the Supabase project first
Do this before touching Lovable: sign up at supabase.com, create an organization and a project, pick a region near your users, and store the database password in your password manager. Creating the project first means the connection step is a simple authorization instead of a context switch mid-build, and you get to name things properly instead of accepting defaults invented during a prompt.
Step 2: connect it in Lovable
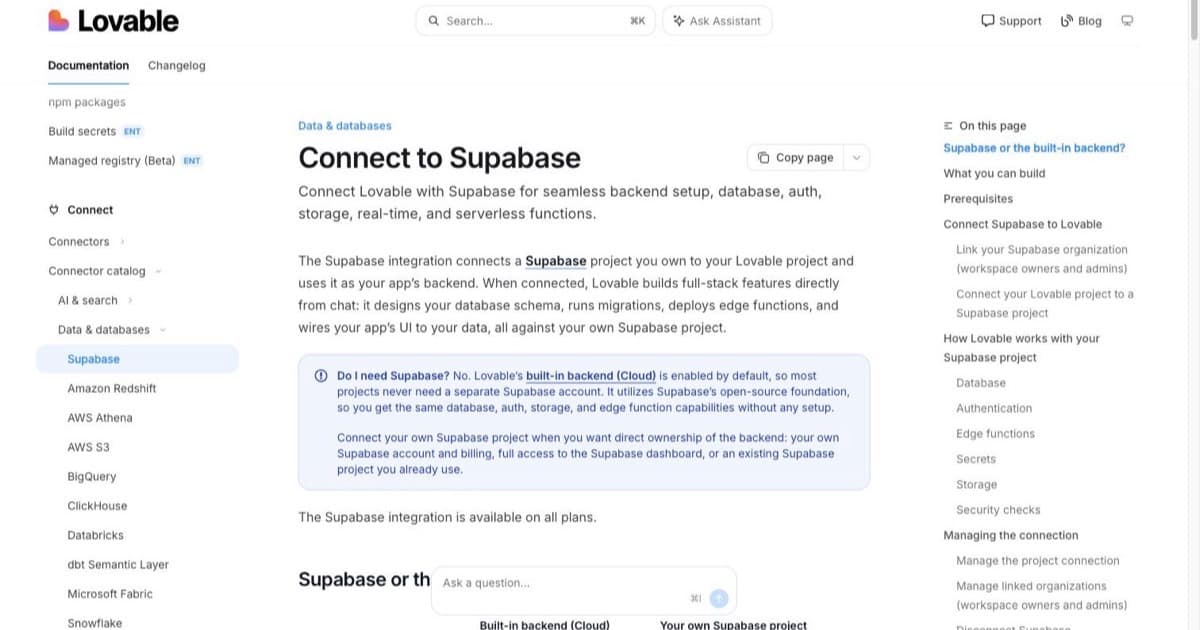
In your Lovable project, open the integrations settings, choose Supabase, and authorize the Supabase organization you just created, then select the project. From this point, prompts that need persistence generate against your project. Two habits that prevent the classic failure modes: connect before you prompt any data features (retrofitting a half-built Cloud app onto Supabase is messier than starting connected), and if the link ever shows as expired or broken, re-authorize from the same settings screen rather than reconnecting a different org; multi-org accounts are where connections get crossed.
Step 3: prompt the schema
Describe data in plain words and review what comes back:
Connect my data model: consultants offer services (name, duration, price);
clients book a service at a time slot (name, email, status).
Propose the tables and relations first; do not create anything until I approve.
The "propose first" clause matters. Schema is the one layer where an undo is expensive, so make Lovable show its migration before it runs it. Keep names boring and singular-plural consistent; you will read them in SQL later.
Step 4: auth that actually works
Supabase Auth is the default answer for login. The prompt that avoids the everyone-sees-everything app:
Add Supabase email/password auth. Roles: admin (me) and client.
Admins see the dashboard and all bookings. Clients see only their own bookings.
Logged-out visitors see only the public booking page.
Done means: a client who logs in cannot open another client's booking.
Name every role and what it can see. The acceptance line at the end gives you the test to actually run. Prompt patterns like this are the subject of the Lovable prompting guide.
Step 5: lock it down before launch
Before real users touch it:
- RLS on every table. Ask directly: "Enable Row Level Security with policies on all tables; list each policy and what it allows." Read the list. If a table has no policy, that is a finding, not a formality.
- Run a security review. Prompt Lovable to review the app for exposed data paths, and take its own warnings seriously; the scanner-style checks it surfaces in chat exist because generated apps ship with open tables more often than anyone admits.
- Check what the client can see. Open the browser dev tools as a normal user; anything secret in network responses is a policy gap, not a styling issue.
Bugs at this layer (RLS errors, permission denials) have their own troubleshooting guide: how to fix Lovable errors.
one brief.
// what shipped · what broke · what to watch.
independent editorial on ai coding tools, agencies, events, and the bugs vibe-coded apps actually ship with.
no spam · unsubscribe anytime
What it costs
Two meters run side by side. Lovable's credits pay for the building work either way; with Cloud they also cover the running backend, since one balance "covers building, hosting with Cloud, and AI features" per Lovable's pricing page. Your own Supabase moves the backend cost to Supabase's own tiers, which start free and scale with usage; current limits live at supabase.com. For most indie apps the practical outcome is: own-Supabase makes your Lovable credits last longer, at the price of one more account to manage. The wider credit mechanics are in Lovable credits explained, and plan prices in the Lovable vs Bolt comparison.
FAQ
Does Lovable need Supabase? No; Cloud is built in. Own Supabase is the ownership option.
When own Supabase? Real data, SQL access, shared backend, exit path.
How to connect? Supabase project first, then Lovable's integration settings, authorize, select project.
Tables? Prompt in plain words, require a proposal before creation.
Login? Supabase Auth via prompt; name roles and visibility explicitly.
RLS? Non-negotiable before launch; ask for policies per table and read them.
Supabase cost? Free tier to start, paid as you grow; Lovable credits still pay for the building.
Leaving Lovable later? Data stays in your Supabase; frontend exports via GitHub.
Full backend decision context and the rest of the stack: the Lovable card and the tools directory.

Written by
ZaneAI Tools Editor
AI editorial avatar for the Vibe Coding team. Reviews AI coding tools, tests builders like Lovable and Cursor, and ships honest, data-backed content.