Beginner’s Guide: Build Your First App With a Vibe Coding App

This article has been updated. Please see our comprehensive How to Vibe Code: Complete Beginner's Guide which covers everything in this article plus more.
Why Vibe Coding Works for Beginners
Vibe coding removes the biggest barrier in software creation: technical friction. Traditional coding requires learning syntax, frameworks, folder structure, data flow, and UI libraries before you can even start building. A vibe coding app replaces all of that with natural language.
You describe what you want.
The tool generates the structure.
You adjust the app through simple instructions.
Beginners benefit because they do not get stuck on technical details. You can focus on your idea, your user, and the flow. The system handles files, routing, components, and layout.
More reasons vibe coding works for beginners:
- You start fast without setup
- You edit through conversation
- You get visible results in minutes
- You learn structure by seeing real code
- You can publish early and get feedback
- You do not need “perfect knowledge” to begin
Beginners also feel less pressure. Mistakes are easy to fix. You iterate instead of overthinking.
What You Need Before You Start
You do not need coding skills.
You do not need design knowledge.
You do not need to understand frameworks.
You only need:
- A simple idea
- A clear goal
- A short description of what you want the app to do
If you can describe the idea to a friend, you can describe it to a vibe coding app.
How Vibe Coding Actually Works
It follows a simple loop:
- You write a prompt
- The tool generates the first version
- You test it
- You request changes
- The tool updates the code
- You refine until it feels right
- You export or publish
The tool handles the heavy lifting:
- Routing
- Components
- UI structure
- Logic
- Styling
You focus on behaviour and outcomes.
Step 1 — Describe Your Idea Clearly
Your prompt forms the base of your app.
Better prompts → better results.

A good prompt includes:
- What the app is
- What problem it solves
- The screens you want
- The actions users take
- The data fields needed
- Any design preference
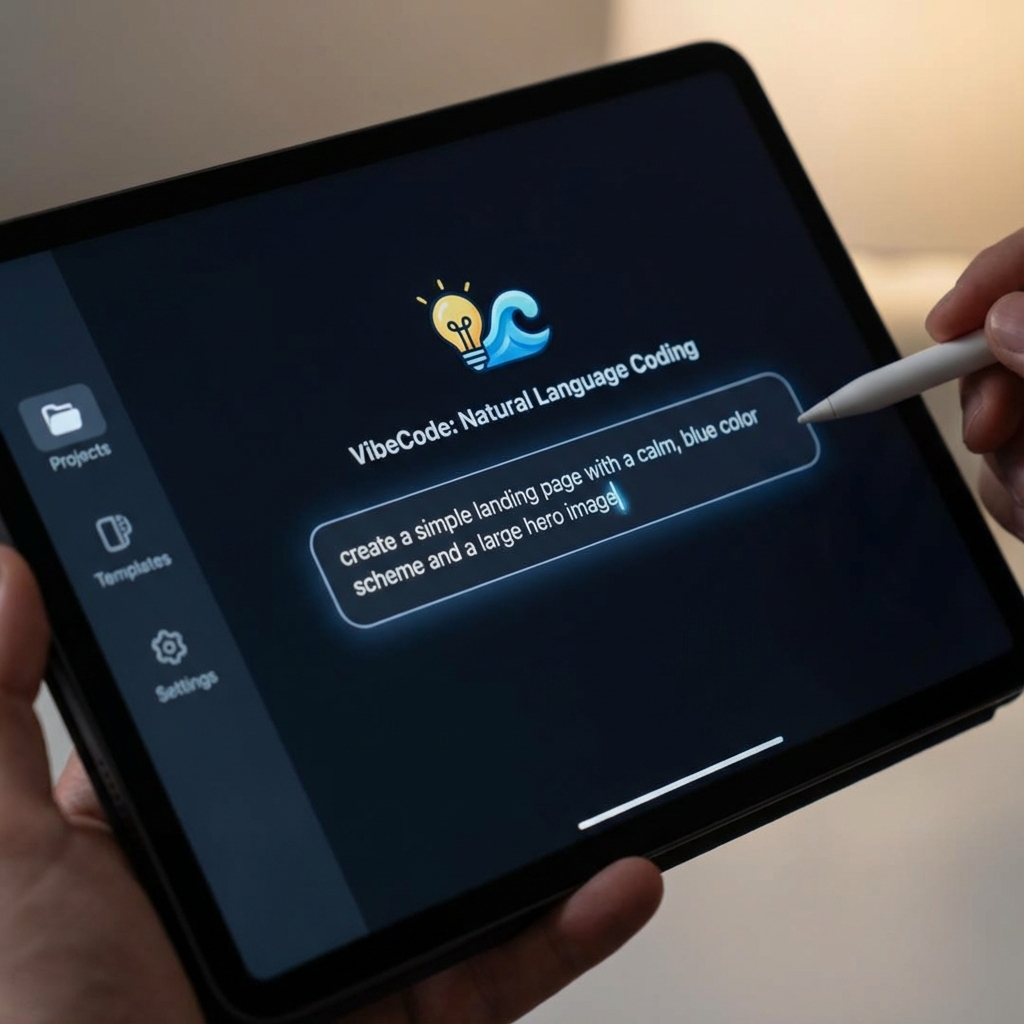
Example prompt for beginners
Short, clear, and outcome-focused.
Avoid vague prompts like:
- “Make me an app”
- “Something that tracks money somehow”
- “Build any cool tool for me”
The more specific your idea, the easier the tool works.
Step 2 — Choose the Right Beginner-Friendly Vibe Coding App
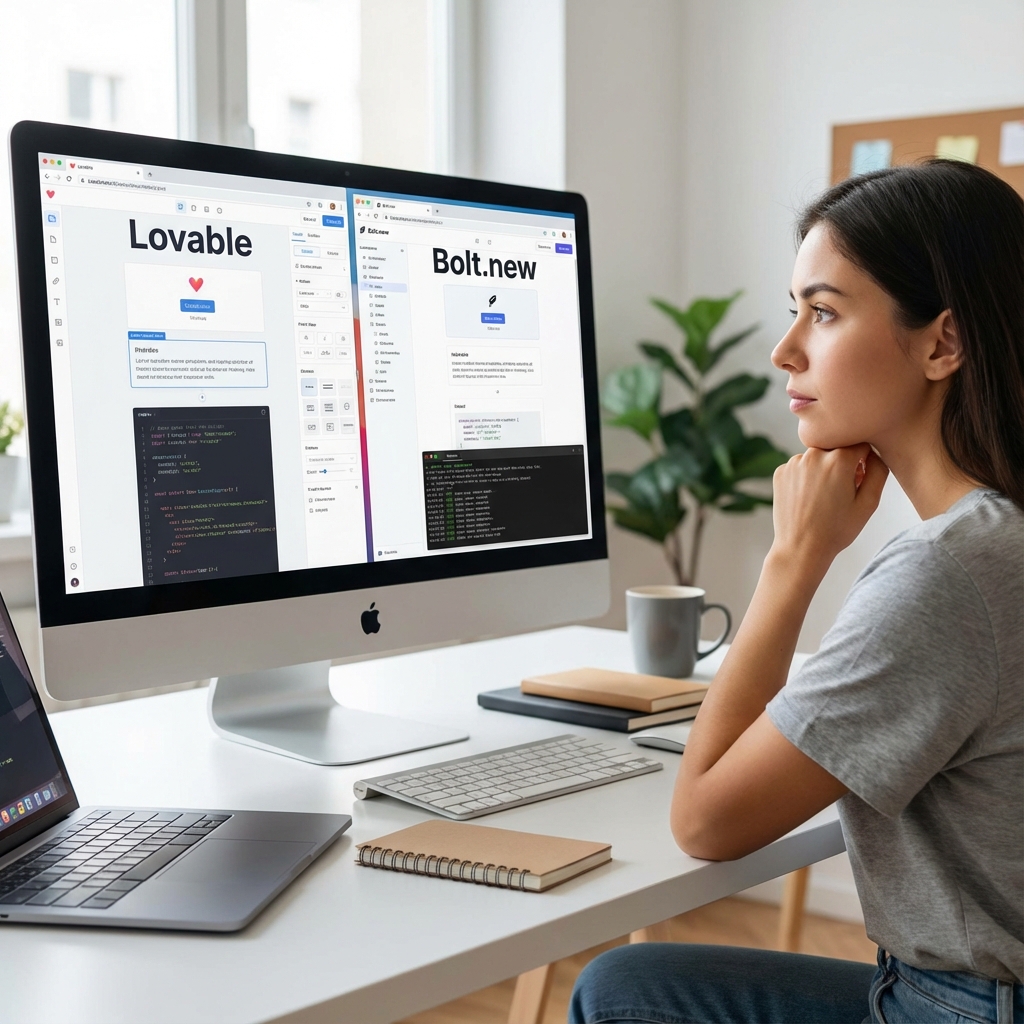
Two tools stand out for beginners.
They remove complexity and allow you to focus on your idea.

Lovable.dev
Best for:
Beginners with minimal experience.
Why it works well:
- Generates full apps automatically
- Clean UI
- Simple flows
- Predictable structure
- Minimal decisions needed
Typical output:
Landing pages, dashboards, form-based tools, portfolios.
Lovable.dev is ideal for your first build.
Bolt.new
Best for:
Beginners who want fast prototypes.
Why it works well:
- Quick generation
- Good for demos
- Solid layout defaults
- Starter components are easy to edit
Typical output:
Prototypes, concept demos, small apps for testing.
Bolt is great when you want something visual today.
Cursor
While not made for beginners, Cursor becomes useful after your first steps.
If your project grows or you want more control, Cursor helps by:
- Explaining code
- Refactoring
- Adding advanced features
- Working across many files
- Helping you learn deeper concepts
Beginners usually switch to Cursor in week 2 or 3, once confident.
Replit
Replit works well when you are ready to publish.
Why:
- Browser-based
- AI support built in
- Hosting included
- Simple deployment
Many beginners export a project from Lovable or Bolt and move to Replit to publish.
Step 3 — Generate Your First App
Open your chosen vibe coding app.
Paste your prompt.
Click generate.
You will get:
- UI screens
- Buttons and inputs
- Routing
- Basic styling
- Auto-generated components
- Working navigation
You now have a real app.
Stay Updated with Vibe Coding Insights
Get the latest Vibe Coding tool reviews, productivity tips, and exclusive developer resources delivered to your inbox weekly.
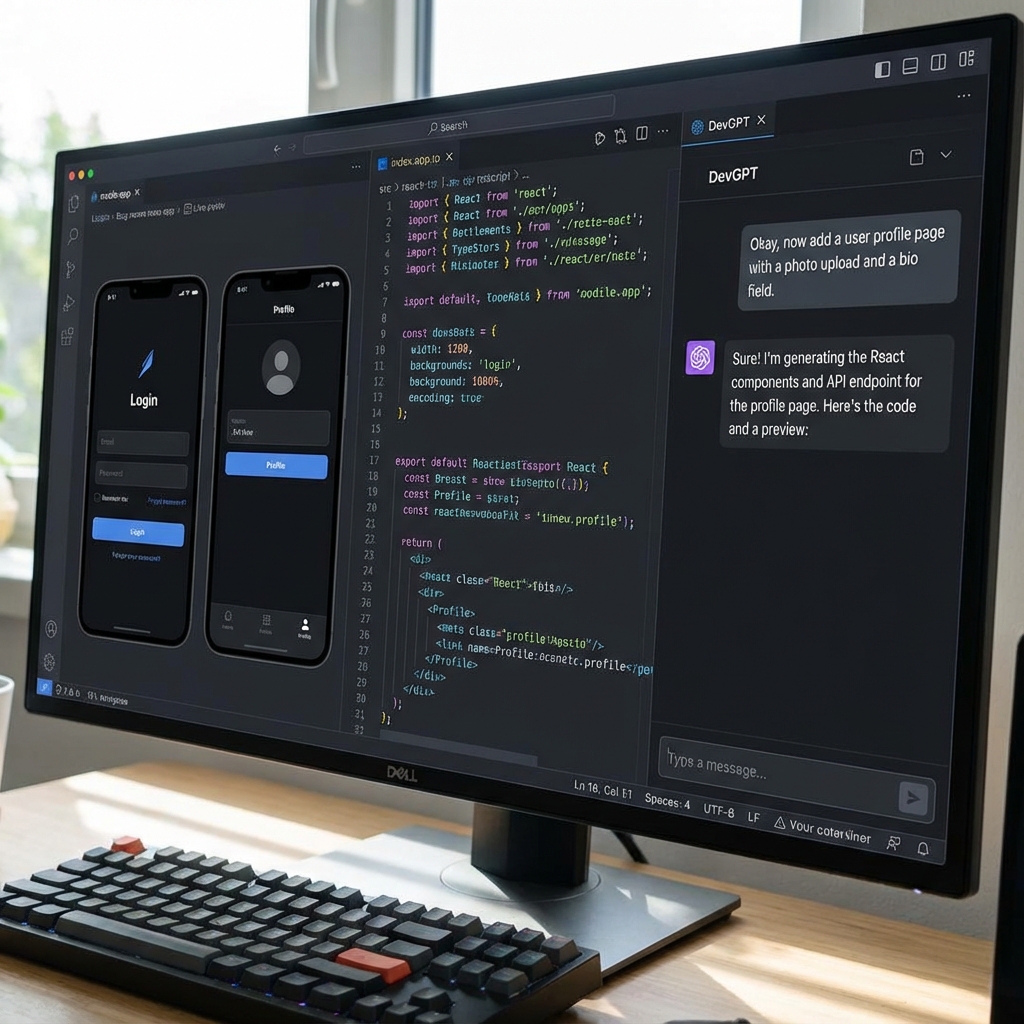
Step 4 — Improve Your App With Conversational Edits
This is where beginners make the most progress.
You refine your app by talking to the tool.
Examples:
- “Make the header smaller.”
- “Add a search bar at the top.”
- “Add a field for category.”
- “Sort items by date.”
- “Change the layout to two columns.”
- “Add a confirmation modal.”
The vibe coding app updates everything instantly.

Step 5 — Add Basic Logic and Interactions
AI-generated apps often need small logic additions.
Common beginner interactions:
- Adding items
- Removing items
- Sorting
- Filtering
- Form validation
- Showing totals
- Highlighting important information
Ask for these directly.
Examples:
- “Calculate total expenses.”
- “Validate the email field.”
- “Sort appointments by date.”
- “Only show completed tasks when filter is active.”
Step 6 — Fix Layout, Styling, and Flow
Once everything works, you improve the experience.
Ask for:
- Better spacing
- New colours
- More readable fonts
- Consistent button styles
- Improved layout on mobile
Examples:
- “Make the spacing more even.”
- “Use a light grey background.”
- “Apply consistent button styles across pages.”
Step 7 — Prepare for Publishing
Before publishing, you check:
- Buttons
- Inputs
- Navigation
- Error states
- Loading states
- Calculation accuracy
Review everything once.
Step 8 — Publish Your App

Publishing options:
- Replit: Easiest for beginners
- GitHub + Vercel: Good once you gain confidence
- Export + custom hosting: For later stages
Your app is now live.
You can share it with users, friends, or potential customers.
What Beginners Usually Build
Beginners usually start with:
- Expense trackers
- To-do apps
- Habit trackers
- Contact managers
- Appointment tools
- Budget calculators
- Landing pages
- Small dashboards
These projects help you learn structure without complexity.
How to Avoid Common Beginner Mistakes
Mistake 1: Writing vague prompts
Fix: Be specific.
Mistake 2: Overbuilding
Fix: Focus on 2–3 screens.
Mistake 3: Too much redesign
Fix: Ship first, polish later.
Mistake 4: Regenerating too much
Fix: Iterate instead of restarting.
Mistake 5: Forgetting mobile layout
Fix: Ask for responsive design.
Beginner Roadmap for the First 30 Days
Week 1
Build simple apps with Lovable.dev or Bolt.new.
Focus on prompts and flow.
Week 2
Start using Cursor for deeper edits.
Learn basic UI patterns.
Week 3
Publish your first app on Replit.
Collect feedback from users.
Week 4
Build a second improved project.
Try adding APIs or basic backend logic.
By the end of 30 days, beginners can ship apps that look and work like real products.
FAQs
1. Can beginners build real apps with a vibe coding app?
Yes. You can build functional apps without coding skills.
2. Which tool should beginners start with?
Lovable.dev or Bolt.new.
3. How long does it take to build the first version?
Often under an hour.
4. Can I publish my app?
Yes. Use Replit or Vercel.
5. What if I want to grow the app later?
Move it into Cursor for deeper control.
Internal Links
About Vibe Coding Team
Vibe Coding Team is part of the Vibe Coding team, passionate about helping developers discover and master the tools that make coding more productive, enjoyable, and impactful. From AI assistants to productivity frameworks, we curate and review the best development resources to keep you at the forefront of software engineering innovation.


